Whirly Gig Quilt
This looks really complicated for which I apologise - I love this method of making Whirly Gig tops, and suspect that it is my ability to write succinct instructions is to blame rather than the methods
There are at least two ways of making a Whirly Gig quilt: one involves cutting individual squared off triangles to a template, the other involves joining square blocks, then cutting them apart using a different template. (pop back to this post for for details)

Re-reading the differences, it would seem that the second method is more complicated, but for me it's the way that works, and less opportunity to go wrong!
EDIT: *These* instructions assume you have a square ruler you want to use for the template - so the question is "what size blocks do I need to start with to use with my X inch template?" Another set of instructions start with the question "what size template do I need if I start with x inch blocks?" That tutorial is here
You need to read these instructions through before starting (not something I excel at) because at the beginning we don't know what size to cut the blocks, this is covered in A, B and C, which come after D, E and F (stick with me!).
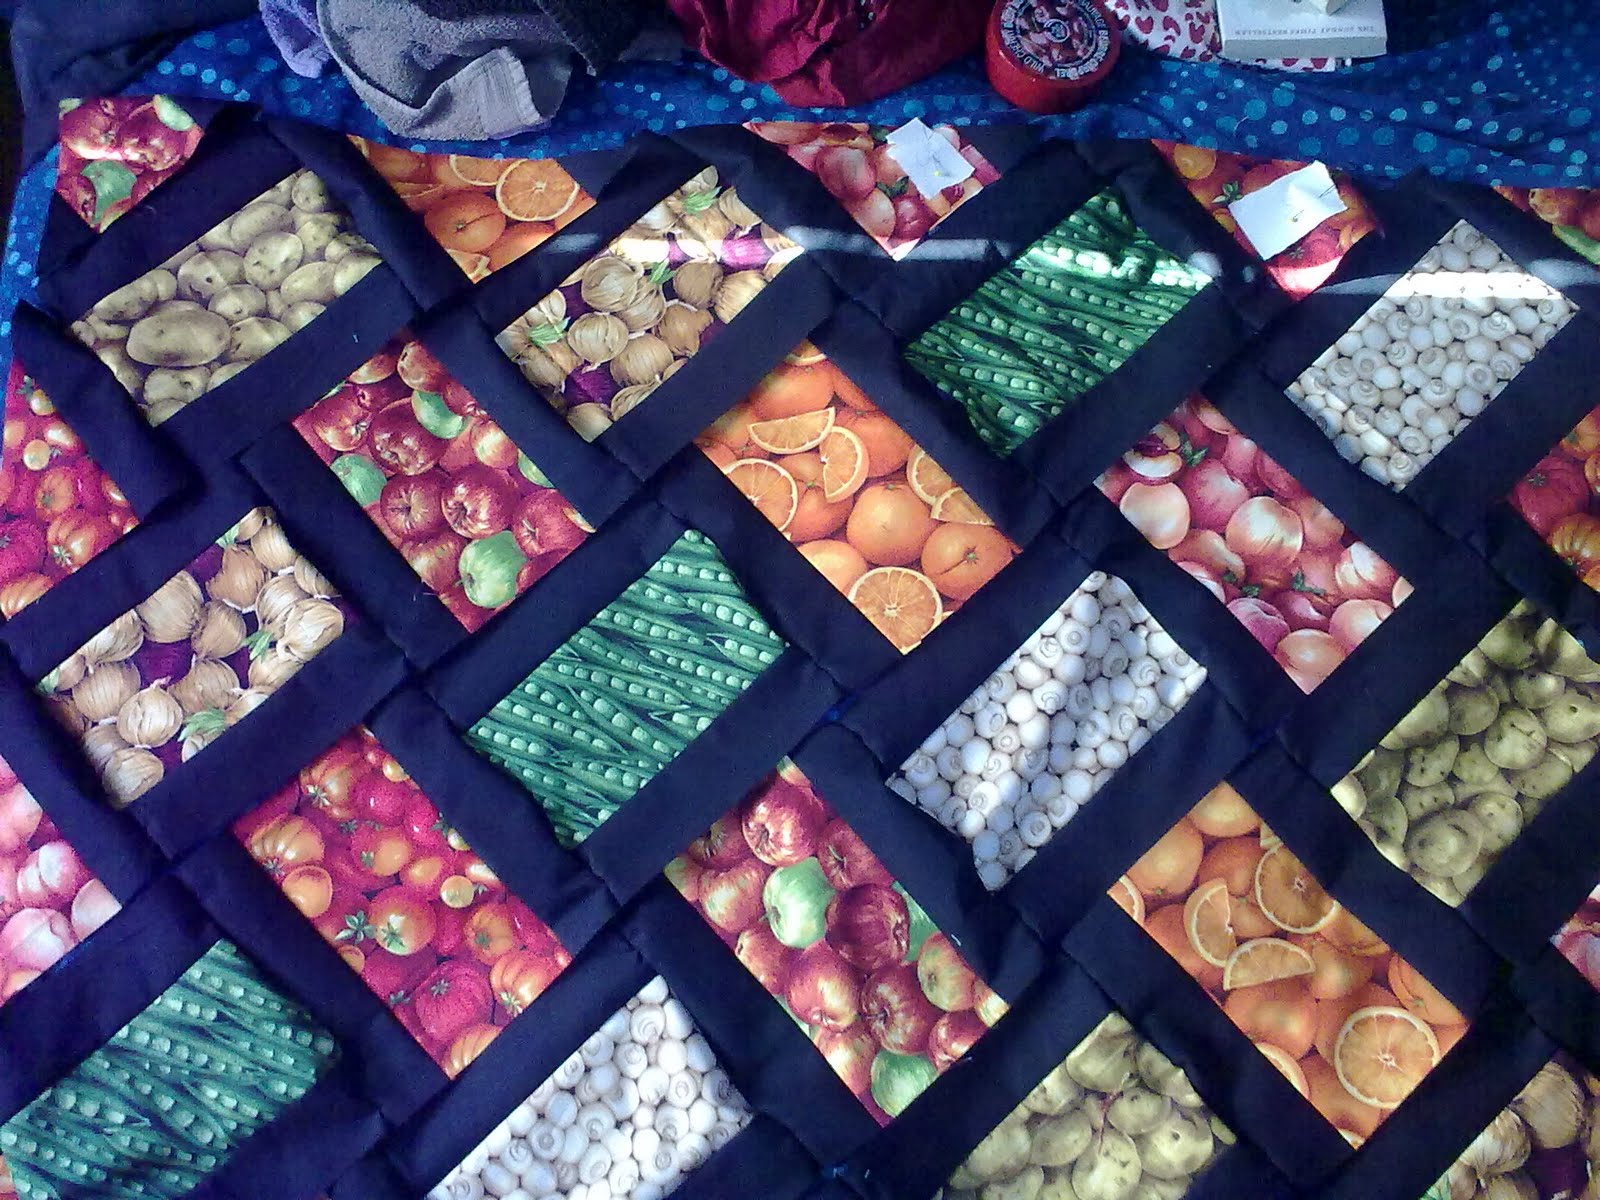
(D) Chose a number of fabrics that you want to use: two is fine, no other minimum, no maximum. I used 8 fabrics, plus black for the border.
 (E) Cut blocks to agreed size. I cut 30 blocks
 (F) Join the blocks together in a pleasing arrangement

What I love about this method is it's flexibility: At this stage you have a lovely flimsy, and if the fabrics haven't worked for you, or if you have too much other stuff to do, no problem, you can call it done.
OR, if you were making a simple quilt, and have reached this stage, but it's looking too bland and boring, we can go and change it to a Whirly Gig!
So ... now to think about sizes ... do you have any of those thick plastic square templates, any size you are comfortable working with? And do you have any thin coloured tape, or a sharpie/permanent marker?
(A) Draw around your template accurately on a sheet of paper. We are initially going to measure and mark on the paper, then transfer a mark onto the template. For a 7.5" square measure and mark 1 inch clockwise from each corner (8.5" template, use 1.5", 10.5, use 2", 12.5" use 2.5 inches) Markings do not have to be the same as mine, but all 4 sides need to have the same measurement.
(B) Measure from mark to mark, diagonally. This is the size of square you need to cut your fabric to. I add quarter of an inch to allow for inaccuracies: my attention to detail is, um, scant! So here (below) - if the red line measures 7.25 inches, the fabric will need to be cut into 7.5 inch squares

(C) If you join these marks with two diagonal lines you will have 4 almost right angle triangles (with the points cut off) Transfer these markings to your plastic template using the sharpie or coloured tape.
(Complicated bit now over, and you can make more Whirly Gigs using the same measurements and never have to go back to A, B and C!!!)
OK, now you have your block size, you can go back to D, E and F
(H) Next you will need to add a border, and with our template we can calculate the size needed. Using the template, position one line on a seam, and the other on the edge of the fabric (sorry, this photo was taken after the border, but I hope it helps), and measure from the edge of the fabric to the point of the template. Add half an inch (or double your preferred seam allowance) and this is the width to cut the border.
Stitch it on. Press all seams

I cant get a decent photo of the next stage, so here are two photos where I've used paper to represent the blocks
Taking the template, position it over a seam joint, and draw around it. |I tried with a Frixion pen, but it scratch the batik, so in the end I used a pencil. The line is a cutting line and doesn't get seen, so whatever you prefer.
 Carry on, over every seam joint, even the three way joints at the border.
 These 4 part blocks need to be cut out carefully. I don't use a rotary cutter for this part as I don't want to accidentally cut into the next block. Keep the bonus single colour blocks, we can use them in another border, another project or as detail on the back
You may be tempted to cut out all the blocks and then arrange them ... from my experience I'd say DON'T!!! you may be more organised than me (you couldn't be less organised) but this is my whole problem with the cutting out squared off triangles method - What? Goes? Where?
I prefer to start along one side, cut the top two blocks, twist each slightly anticlockwise (counterclock) and pin them together, then cut the next one down, pin that to number two, etc, numbering each strip as it's finished.
These blocks can be stitched into rows, and the rows stitched together as a flimsy. Keep checking you are building whirly gigs!
MY MEASUREMENTS:
I used 8" squares of fabric, plus a 5" border. This gave me a flimsy measuring 47" x 54.5
 Next I will be piecing all the bonus squares, to make a colourful border, and then I will add another border of black before finishing. I do like my quit tops to mature before I move onto the next stage LOL
There are at least two ways of making a Whirly Gig quilt: one involves cutting individual squared off triangles to a template, the other involves joining square blocks, then cutting them apart using a different template. (pop back to this post for for details)

Re-reading the differences, it would seem that the second method is more complicated, but for me it's the way that works, and less opportunity to go wrong!
EDIT: *These* instructions assume you have a square ruler you want to use for the template - so the question is "what size blocks do I need to start with to use with my X inch template?" Another set of instructions start with the question "what size template do I need if I start with x inch blocks?" That tutorial is here
You need to read these instructions through before starting (not something I excel at) because at the beginning we don't know what size to cut the blocks, this is covered in A, B and C, which come after D, E and F (stick with me!).
(D) Chose a number of fabrics that you want to use: two is fine, no other minimum, no maximum. I used 8 fabrics, plus black for the border.


What I love about this method is it's flexibility: At this stage you have a lovely flimsy, and if the fabrics haven't worked for you, or if you have too much other stuff to do, no problem, you can call it done.
OR, if you were making a simple quilt, and have reached this stage, but it's looking too bland and boring, we can go and change it to a Whirly Gig!
So ... now to think about sizes ... do you have any of those thick plastic square templates, any size you are comfortable working with? And do you have any thin coloured tape, or a sharpie/permanent marker?
(A) Draw around your template accurately on a sheet of paper. We are initially going to measure and mark on the paper, then transfer a mark onto the template. For a 7.5" square measure and mark 1 inch clockwise from each corner (8.5" template, use 1.5", 10.5, use 2", 12.5" use 2.5 inches) Markings do not have to be the same as mine, but all 4 sides need to have the same measurement.
(B) Measure from mark to mark, diagonally. This is the size of square you need to cut your fabric to. I add quarter of an inch to allow for inaccuracies: my attention to detail is, um, scant! So here (below) - if the red line measures 7.25 inches, the fabric will need to be cut into 7.5 inch squares

(C) If you join these marks with two diagonal lines you will have 4 almost right angle triangles (with the points cut off) Transfer these markings to your plastic template using the sharpie or coloured tape.
(Complicated bit now over, and you can make more Whirly Gigs using the same measurements and never have to go back to A, B and C!!!)
OK, now you have your block size, you can go back to D, E and F
(H) Next you will need to add a border, and with our template we can calculate the size needed. Using the template, position one line on a seam, and the other on the edge of the fabric (sorry, this photo was taken after the border, but I hope it helps), and measure from the edge of the fabric to the point of the template. Add half an inch (or double your preferred seam allowance) and this is the width to cut the border.
Stitch it on. Press all seams

I cant get a decent photo of the next stage, so here are two photos where I've used paper to represent the blocks
Taking the template, position it over a seam joint, and draw around it. |I tried with a Frixion pen, but it scratch the batik, so in the end I used a pencil. The line is a cutting line and doesn't get seen, so whatever you prefer.


You may be tempted to cut out all the blocks and then arrange them ... from my experience I'd say DON'T!!! you may be more organised than me (you couldn't be less organised) but this is my whole problem with the cutting out squared off triangles method - What? Goes? Where?
I prefer to start along one side, cut the top two blocks, twist each slightly anticlockwise (counterclock) and pin them together, then cut the next one down, pin that to number two, etc, numbering each strip as it's finished.
These blocks can be stitched into rows, and the rows stitched together as a flimsy. Keep checking you are building whirly gigs!
MY MEASUREMENTS:
I used 8" squares of fabric, plus a 5" border. This gave me a flimsy measuring 47" x 54.5