Showing posts with label SLIK and Quick. Show all posts

Saturday, May 3, 2025

2025 April

Hello to the April furtle in my little corner of blog world

At the beginning of the month I taught the Fun With fabric session at Chertsey Museum - we created  lots of felt birds


I (or rather Lizzie) made lots of gingers for a customer


Jackie came over for a few lovely days - we made pouches for crochet and knitting markers

We made pouches for knitting needles and crochet hooks


We (or rather Lizzie) added stitched dresden plates to Jackie's fab Dresden plate quilt - not sure if you can see the stitching but it is there!!!


And we made craft bags with a lovely big opening


And we went to Creative Quilting and chose backing for the mandala quilt.

(She's gone off to the longarm quilter and is being quilted)


I made some samples of slouch bags ready for the May FWF session at Chertsey (instructions here if you want a go) I used the template from https://sewcanshe.com/easy-sling-bag-free-sewing-pattern/ but simplified it for hand sewing and the short lesson time.  The daisy bag was made with SewCanShe's template, and the others were made shallower (blue) and smaller (red)


The New Hive quilt has been quilted and bound and is now finished.  I had just ONE yellow bee hexie remaining 😳 Nothing like cutting it fine!

And finally a few uniform zippies for the Chertsey Museum staff:


There are a few other things ongoing but not ready for photos yet.  The to-do list is currently at 44 items and I know there are still a few more projects to go on the list but at least a few things have been transferred to the "done" clip

Wednesday, November 23, 2022

2022 November Block Special

Richmond and Kew quilters had a great Easy Stack workshop last Saturday run by Paula Doyle.  It's not my place top share her method, but you can see loads of inspirational photos on our FB page.

I'll show you my blocks later, but Paula also showed us how to easily make a 4 patch so I wanted to show you while I remember

Lay out the 4 pieces as you want them to end up.


Numbering them in this pattern

1 2
3 4

fold 2 onto 1, and 4 onto 3 and stitch them: do not cut the thread between, just keep going from the top pair to the bottom pair with a few chain stitches between.  Think of these seams as seam 1

See the chain stitches - leave this intact

Now pivot anti clockwise and flip 3/4 onto 1/2, and stitch.  This is seam 2

Flip over and the question now is how to press?

Snip open the chain stitches, and tug a little to unto the new few stitches (these are the stitches from the chain part of seam 1 to where they have been stitched over by seam 2, probably just 2 or 3 stitches)

You can then fold each seam anticlockwise and have this cute little baby 4 patch in the middle.  This means all your seams are ready to snuggle together when you start joining your 4 patches to each other!


Wednesday, October 13, 2021

2021 Week 41 Semi Circular Pouch

 I think I've cracked it!

Use a suitably sized plate to mark a circle and cut out of fabric, (fussy cut if desired or appropriate)

Cut circle in half and add a piece between the two halves to add about 50% to the size.  Cut fusible wadding and lining to the same size, assemble together as a sandwich and quilt as preferred


Use a zip at least as long at half the perimeter: trim the ends off in a deep V shape, sperate the two sets of teeth, and pin one set RST to cover half the extension and the curve.,  Repeat with other teeth and other half of pouch.  Stitch 


Stitch bias binding over the raw edges.  I used 1/2" (that finishes at 1/4" when folded) and zigzagged it over the raw edges and the zip tape

Turn the zip tape and bias binding into the bag, pin and topstitch.


Add the zipper pull so it can be used and is even (see this page for more detailed instructions), and zip 90% closed.


Cut 1.5 inch square from the corners of the bag (making sure the pull is on the remaining bit of the zip

Clip or pin the zipper ends so the pull cant escape, and then turn inside out


Wide mouth frog bit (a favourite book when the girls were little)

Gently push the folded bit and the zipped bit together


until they meet in a straight line

Now sew along this line to close the bag, and also (if required) cover with bias binding

Turn the pouch the right way out and admire!!!


Sunday, October 10, 2021

2021 Week 40 - changing (or adding) a zip pull

I like to chop and change my zips - sometimes I will have contrasting sides to the zip, and sometime I will add a different coloured zip pull, or maybe add more than one.

Here is how: (you need a zip a bit longer that you need for the project as we need to cut some off)

EDIT - the full instructions are for a curved zip - if you want to use the zip on a straight pouch or for a pocket just use the relevant instructions shown in bold

Cut the sealed end into a deep V.  It will help if the two sides don't quite match


Slide the zip pull onto the longer side and pull it down to where the teeth / tracks on the shorter side start.  The teeth / track needs to go into the wider tunnel

without nudging the first side, slip the teeth on the shorter side into the other tunnel

Grab both pointed ends of the zipper tape firmly in one hand

And pull the zip pull onto the tracks.

Test by zipping up the item you are making

If it doesn't sit right you might have started the second lot of teeth too high or too low - sorry, you need to take off the zip and try again (and again and again) until it is right

If you want to have two pulls on the tracks you need to know that tracks going into the wider tunnel will lock together and tracks going into the narrower tunnel will unlock, irrespective of what state the tracks are already in.

On this project the pulls could all be added from the same end: pulled left the zips close their sections, and pulled right they open it.


But sometimes you want to be able to use a pouch differently - so you need to add a pull from each end


In other words this one went wrong: as I pull down the zip pull (so the tracks enter the wider tunnel) the tracks will open even though they are already open (I added both pulls at the same end - Doh)


Flipping annoying, but that's why I've written these instructions so I *might* be able to do it correctly next time!!!!


Sunday, July 7, 2019

2019 Wk 27 - Travel pouch - comments welcome!

This was inspired by a number of small handbags that I have been given or have made, but it is my own design.  I'm really pleased with it and want to make more so the instructions are here to remind me, but feel free to have a go.  (And if you do, do let me know how you get on with it!)

The pouch has a vinyl front pocket (passport or ID?) a zipped front pocket (cash ?) a big inner pockets for mobile and glasses and a back zipped pocket (for credit cards?)

I started with a piece of denim recycled from a pair of jeans (NB - dont use stretch denim next time!)  I cut it to 18 (second try I cut to 20") x 6.5"  and rounded the corners at one end (using a drinking glass).  I will later cut a piece from lining fabric, but that can wait until the denim piece is ready

I cut 1.5" off the end with original corners to make a pocket

To make the front pocket
Cut two pieces lining fabric 6.5 x 7
I used a zip that was more than 6.5" and added it to one of the pieces of cut denim and pocket (zip front to right side of denim, zip back to right side of lining)

Stitch, flip over both fabrics, finger press (because I'm lazy) and top stitch

repeat with the other piece of cut denim

To make the vinyl pocket:
Cut a piece of trimming fabric 2 x 14".  Fold in half along the length and press, then fold the long edges in to meet the pressed line and press in place.  Cut a piece of vinyl 5.5" x 7".
Slide the long edge of the vinyl into the folded opening, and stitch the trim over the vinyl.  The extra 7" will be used later, stitch along the long edge so it doesn't open

Place pins at a point 8" from the squared ends. Stitch vinyl to denim (with trim towards rounded ends)

Flip vinyl over (you could pin or clip it into place: if using pins only pin through the fabric not the vinyl)

To make the rear pocket: Cut a 4" piece of denim off the rounded ends. Insert zip as with front zip pocket

Stitch the bottom of both pockets and trim excess fabric (it was easier than trying to work out which side needed to be longer than the other!!!)

Back of denim

Front of denim

Lay the denim out flat and measure it so you can cut a piece of lining exactly the same size.

Pin, clip or tack half an inch at the squared end (wrong sides together).  I found it folded neatly around the zip (*)

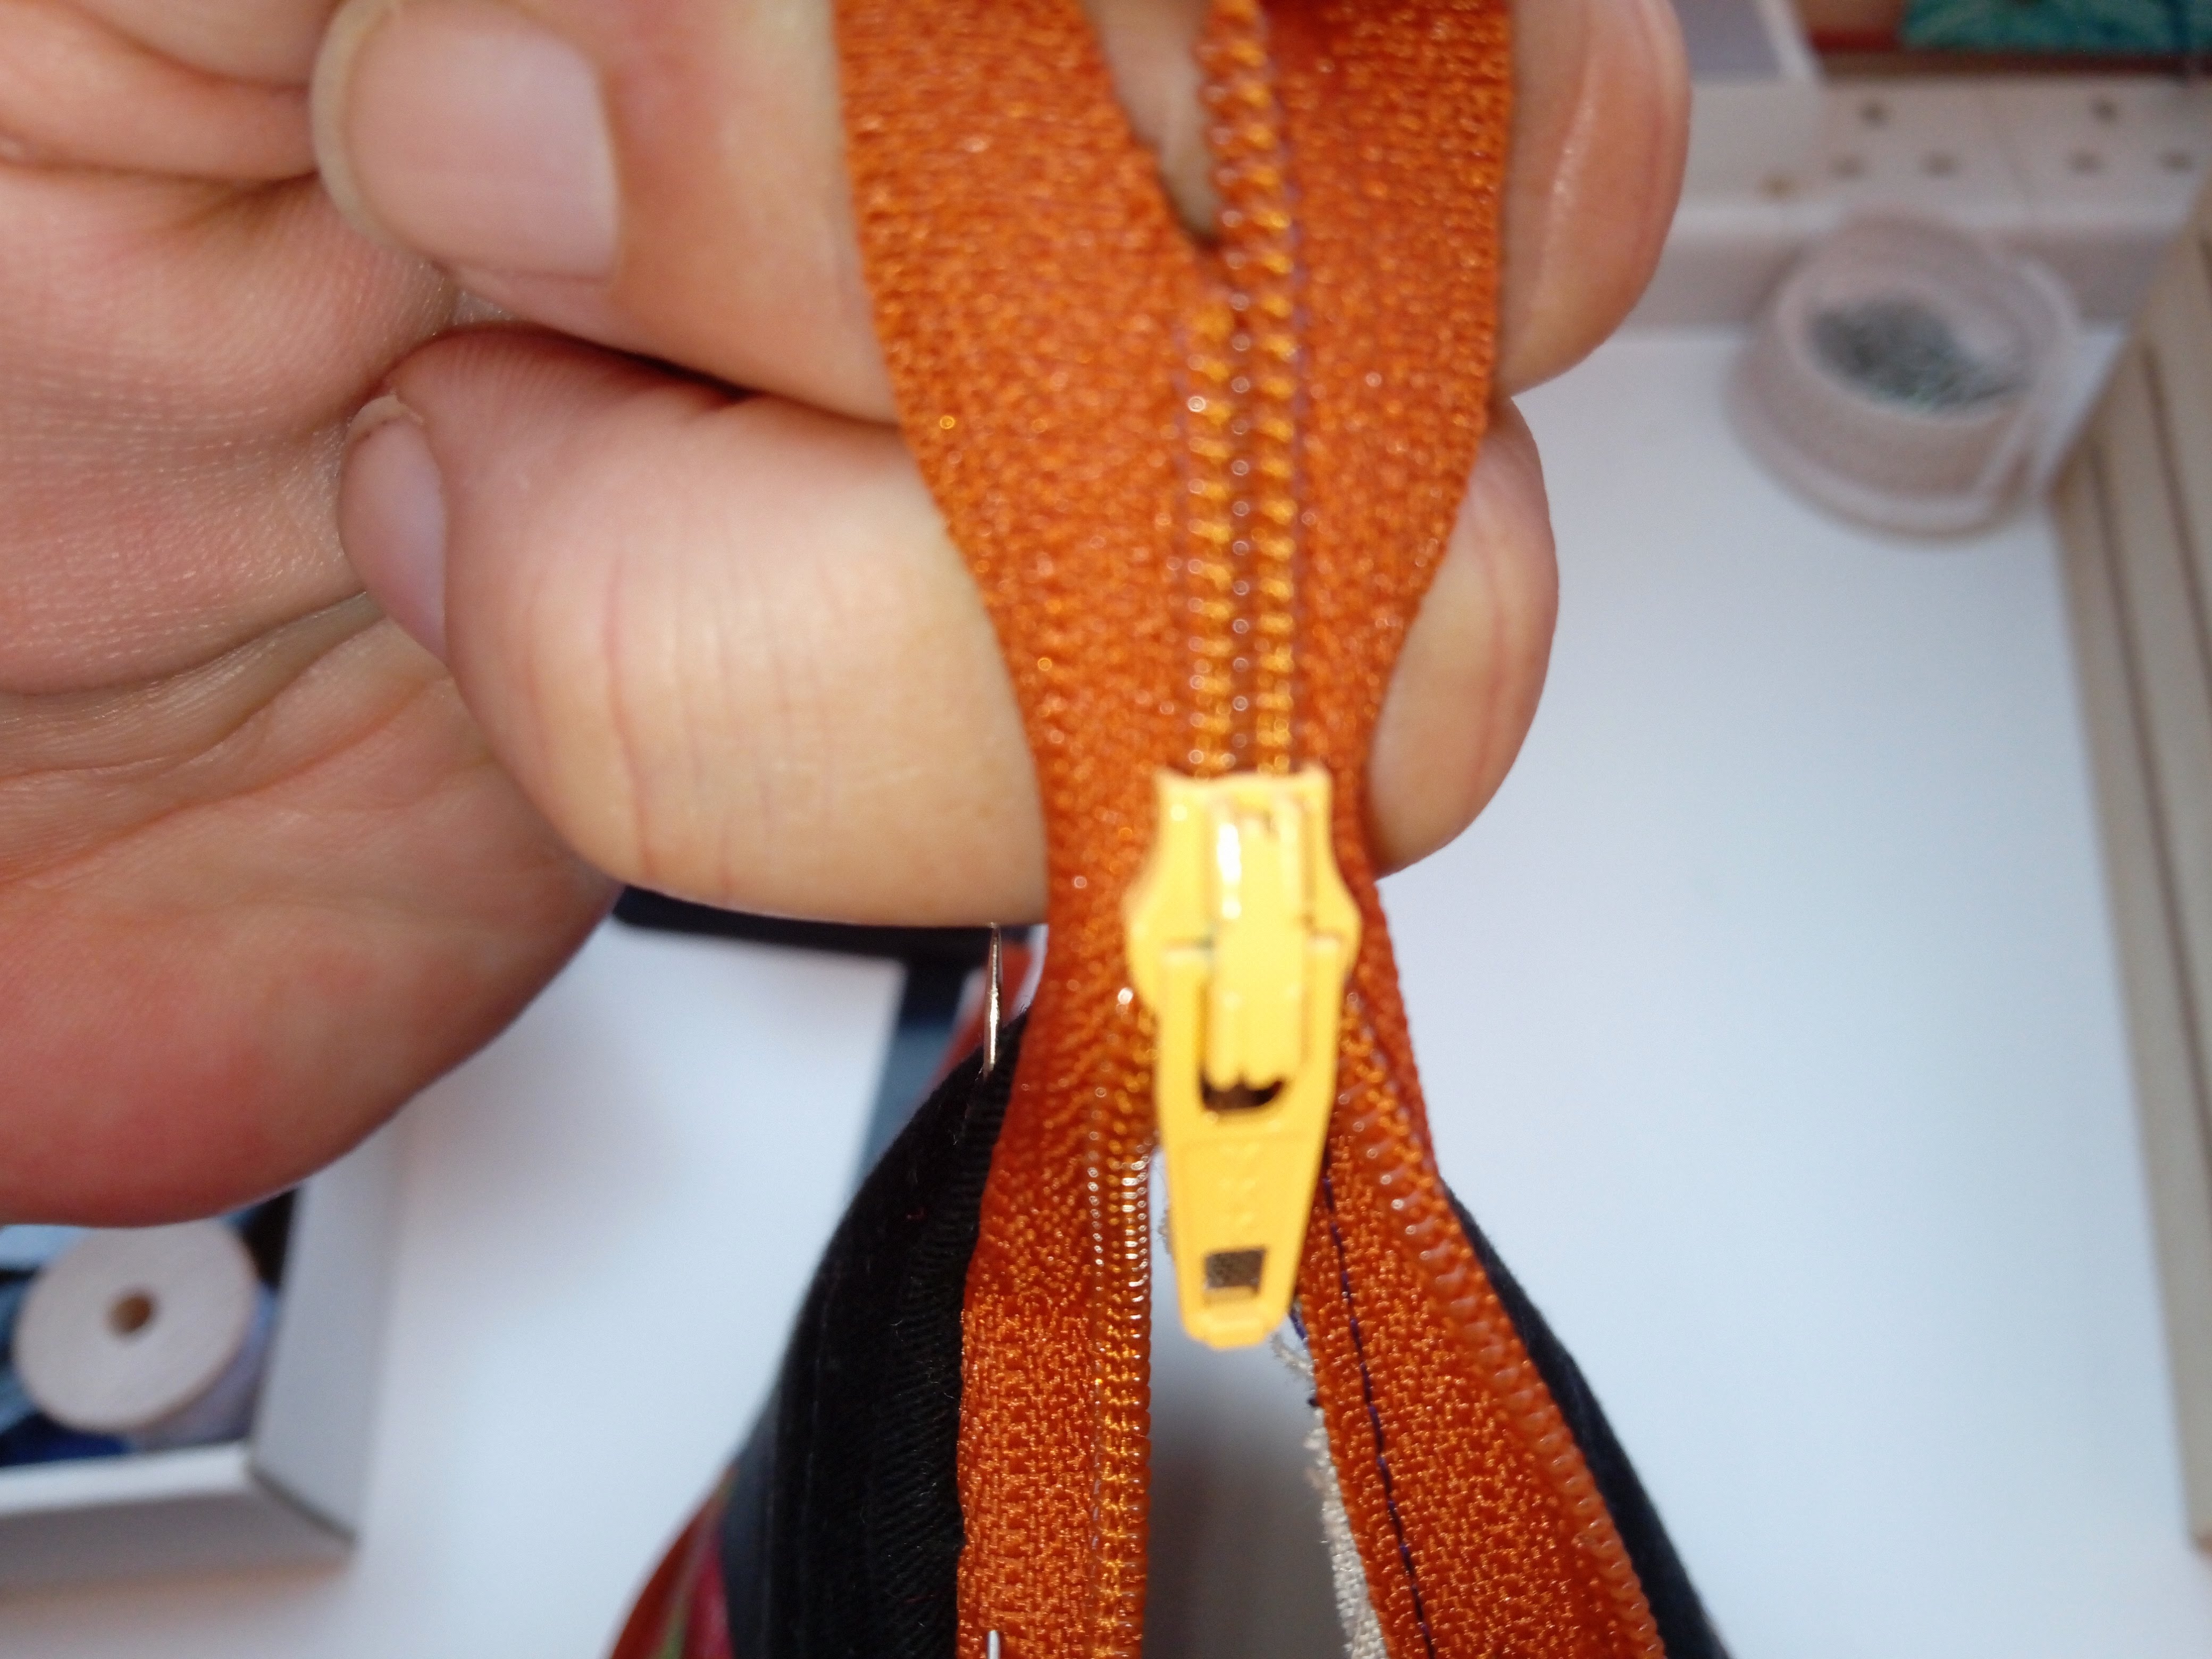
Move the zipper pulls to the middle of the zip.

Hey you - at the back - yes you, the one not paying attention: MOVE THE ZIPPER PULLS TO THE MIDDLE OF THE ZIP.  Trimm off the zip ends in line with the denim.  Try *really* hard not to absentmindedly pull the zip to open or close it yet


Fold, flipping the rounded end on top of the vinyl, using the vinyl-to-denim stitching as the fold line (left below) and fold the lining the same (remember to fold down the end of the lining to match the denim (not shown).  If you flip them over they look like this

Make 2 small lengths of strap from small D rings and the excess vinyl binding earlier, or use ribbon.  If you don't have D rings you could just use the strap.
 

Place these at the sides, in line with the zip above the vinyl pocket: strap raw edges match the raw edges on the denim piece, and D rings and straps laying against the zip (as shown)


Now flip the lining piece onto the denim piece so the shorter sections are wrong sides together.  Check in the middle of the sandwich - the folded (maybe pinned, clipped or tacked) straight edged ends (shown in red) need to be touching and matching (*)


And breathe!!!

Now - stitch around the 3 raw edges!  No turning gap needs to be left as you created one at (*)

I was too lazy to make rounded  corners on my lining so I stitched from the denim side and trimmed the corners after.  Carefully cup into the convex curves - these will finish as concave so they need little triangles cut from the raw edge to *almost* the seam

Now find the opening with the folded (tacked, clipped or pinned?) ends, and pull the whole lot through there.  It may well need some re-adjusting but you should end up with this

Slip stitch the opening closed

I made a strap using rope folded at the end around a small lobster clasp and used embroidery thread to hold it all closed (this method) and tada!!!!

However (drat and fiddlesticks) the flap doesn't fold over enough, so the next version will have slightly longer measurements.  I'll have a go at using KAM press studs / poppers when I get a chance

And then I made another one with different pockets!


April 2026

 Welcome to my April furtle My orange car was replaced by a seafoam green car: our first brand new car, and our first all electric car: quit...