An Unveiling and an Unshackling
We had a great assembly yesterday, with the head giving a fantastic talk about all the talents that are evident in the school (the previous night had been the school production, so he started with singing, dancing and acting, leading into drawing and sewing)

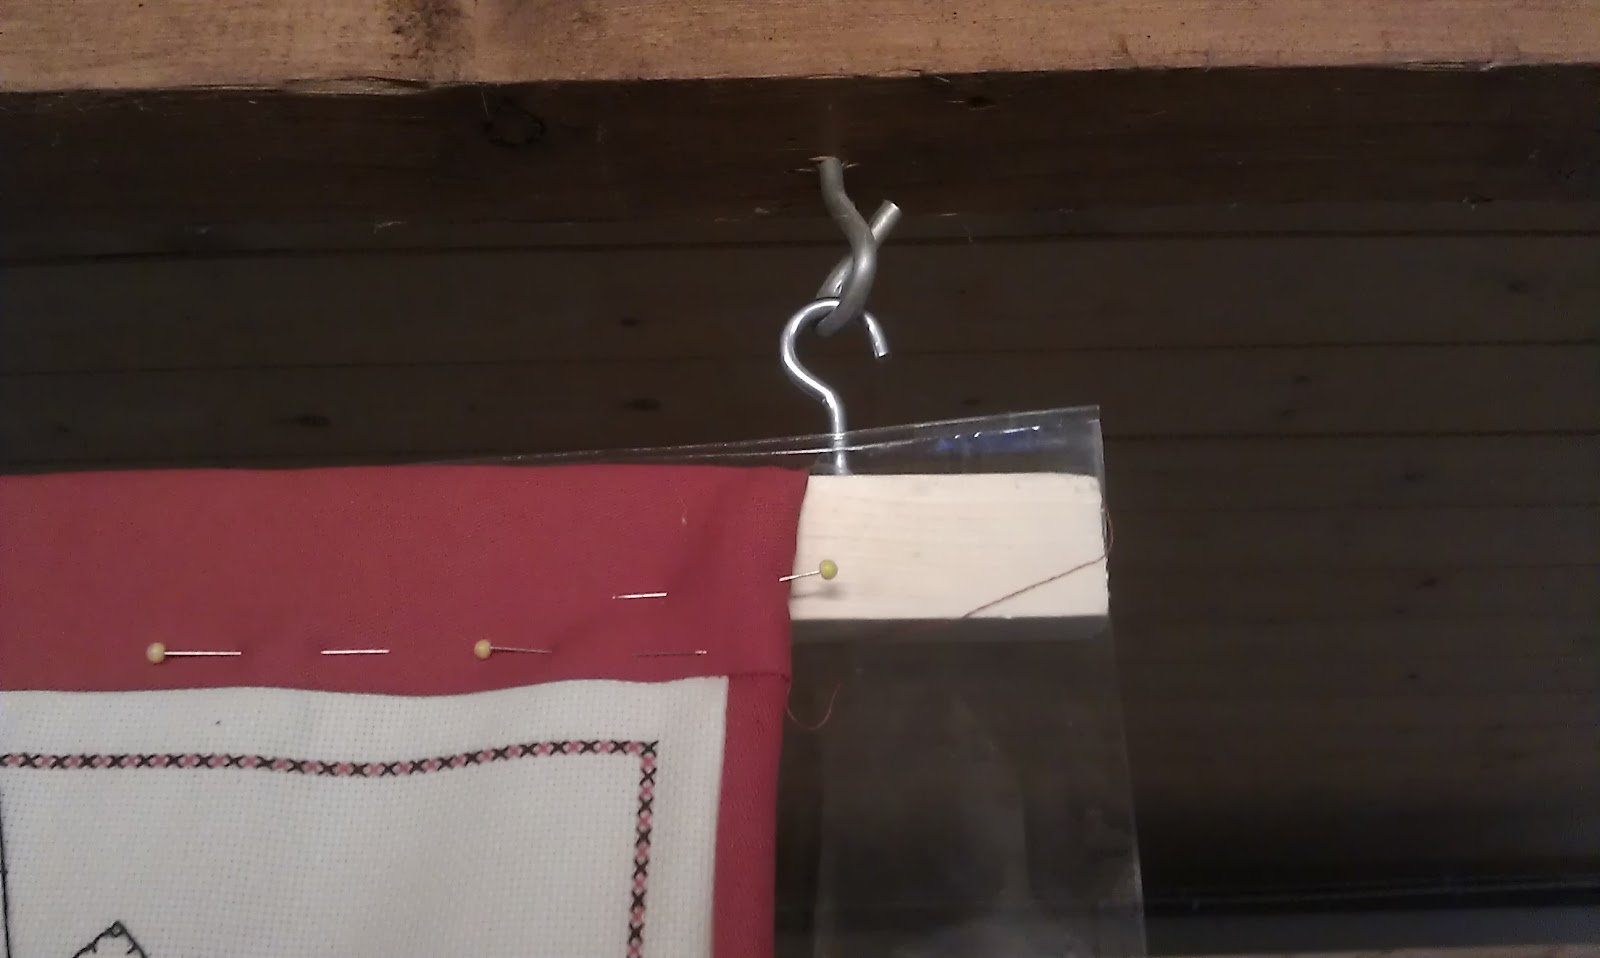
And then he unveiled the Wall Hanging

 There is a clear shower curtain in front of it to keep it clean, but it muted the colours in the photos more than I expected. I will get a better photo on Monday.
 This is me, and Claire, the mum who helped lead the classes, and who has arranged the parish tour for the quilt - two churches will show it for a week each, as will the crafts centre, the museum and the library, and the Moat House - at Windsor Castle!!!!!!!!!
So, released (unshackled) from the pressure of the Wall Hanging, I have today managed to finish the Purple Present. Well to be fair, it's only *almost* finished - I still have to hand stitch the binding, but that's just an hour in front of the TV so that doesn't really count!


And then he unveiled the Wall Hanging


So, released (unshackled) from the pressure of the Wall Hanging, I have today managed to finish the Purple Present. Well to be fair, it's only *almost* finished - I still have to hand stitch the binding, but that's just an hour in front of the TV so that doesn't really count!

Sunday Sewing
How about a start and TWO finishes? Not bad as well as teaching Sunday School!
A young Teaching Assistant from school is leaving on Friday to become an Au Pair for a family in Europe. I wanted to make a quilt that the staff could all sign using fabric pens, so she could take it with her, but didn't think I'd have time . . . but as you can see, I found time!

I even managed to machine applique her name onto it

I did wavy line quilting in the sashing, and added a red gingham binding (can you guess our school uniform is red?!)

I also manged to finish my Star Of Africa block - the first one for our international Bee. I hope Patti likes it
 I have also sent her two scissor tags, and I'll add some chocolate tomorrow before I post it. No danger of it melting this side of the pond, but it's warm in Canada, so hope it gets there OK!

A young Teaching Assistant from school is leaving on Friday to become an Au Pair for a family in Europe. I wanted to make a quilt that the staff could all sign using fabric pens, so she could take it with her, but didn't think I'd have time . . . but as you can see, I found time!

I even managed to machine applique her name onto it

I did wavy line quilting in the sashing, and added a red gingham binding (can you guess our school uniform is red?!)

I also manged to finish my Star Of Africa block - the first one for our international Bee. I hope Patti likes it


Holiday Hexies
I'm counting down the days until we go to Norway. I have *some* sewing to take (I need to finish the binding on Norwegian Red for my cousin), but that doesn't leave me anything to do while we are there, or on the journey home
These hexies have been my TV sewing for a while, but have been difficult to fold away with the papers inside even just the outer hexies. I have now tacked around all the external hexies, removed all the papers, and got it ready to come on holiday with me

This next photo may just look like a mess of colours, but it is the hexie top to-date, plus all the extra fabrics, and needle and thread, and cardboard templates, all fitting perfectly into the lovely little bag that Teje sent me recently.

I'm ready for my holiday, well, I suppose I should pack clothes too, but the important stuff is now sorted!
Papers, and Pay it Forward, and a Pillow
The Papers have been out in strength to visit and photograph the A to Z Wall hanging:
This is from the Windsor and Eton Express
 Schoolchildren and their families racked their brains to come up with iconic images of Windsor.
The Pay It Forward is this star:
A lovely lady, Marguerite, was part of a quilting bee: she had managed to keep up with all the blocks she was to send to the other members, but didn't have time to plan or cut the fabric for her own blocks. The Bee Mama arranged to have others send her star blocks, but not enough for a quilt top. I read about Marguerire on Hadley's blog, and having been recently the recipient of quilter's generosity, felt I should do something to Pay It Forward

And the Pillow: this embroidery for a customer

This gorgeous munchkin finally made an appearance today

(And she's a she, so Jackie and Niki were right, well done)
And she has a name, so I have been able to finish her quilt

Now I'm just waiting to get the green light to go and visit :-)
This is from the Windsor and Eton Express
Pupils' iconic Windsor images to be displayed at castle
Schoolchildren and their families racked their brains to come up with iconic images of Windsor.The children from Trinity St Stephen School in Vansittart Road teamed with their families in special 'after school' sessions to create the images in felt on a fabric background.
Luckily, 26 families came forward - one icon for each letter of the alphabet.
The resulting 6ft by 5ft creation is topped off by the school logo, knitted by headteacher Dalwyn Attwell.
You can see it at nearby St Stephen's Church until Monday.
Over the next month it will also be displayed at the Firestation in St Leonard's Road, Holy Trinity Church in Claremont Road, Windsor Library on Bachelors Acre, the museum at the Guildhall, and - to pupils' delight - the Education Centre at Windsor Castle from August 27 to September 2.
It returns to the school next term.
The Pay It Forward is this star:
A lovely lady, Marguerite, was part of a quilting bee: she had managed to keep up with all the blocks she was to send to the other members, but didn't have time to plan or cut the fabric for her own blocks. The Bee Mama arranged to have others send her star blocks, but not enough for a quilt top. I read about Marguerire on Hadley's blog, and having been recently the recipient of quilter's generosity, felt I should do something to Pay It Forward

And the Pillow: this embroidery for a customer

Great Auntie Benta :-)
This gorgeous munchkin finally made an appearance today

(And she's a she, so Jackie and Niki were right, well done)
And she has a name, so I have been able to finish her quilt

Now I'm just waiting to get the green light to go and visit :-)
Fun With Fabric On Friday
I brought in a guest teacher to the Chertsey Museum Fun With Fabric class - and Jacqui taught us how to make Dorset Buttons and their history:
 These were traditional way of making buttons about 350 years ago: whole families would be involved, in Dorset, making them for pay of 3 shillings and sixpence for a gross!
It look us the best part of an hour and a half to make nearly one each:


The Museum has a particular interest in fabrics and costumes, and Jacqui had arranged with the curator, Emma, for these examples to be shown to the group:


You can click to see them in more detail, but they were only taken with my phone so they aren't fab. These might have been quicker to make as they were tiny (the first one is photographed on Emma's hand) but by golly those Dorset Button makers must have had good eyesight!
Thank you Jacqui - a very enjoyable afternoon x x x
FWF Show and Tell
As well as making the Dorset Buttons last Friday, the ladies brought their Show and Tell from the previous month's session when we had made Somerset Stars
Here are the projects they continued with:


Susan then went for much smaller folder triangles to make this Christmas card

And Mahala used the folded triangles (Prairie Points) in a different arrangement


Sadly these are all correct, and I can add . . .
You have a PHD, in fact several of them, in your cupboard, but they have nothing to do with education, and everything to do with Projects Half Done
Here are the projects they continued with:


Susan then went for much smaller folder triangles to make this Christmas card

And Mahala used the folded triangles (Prairie Points) in a different arrangement

Wise Words

Sadly these are all correct, and I can add . . .
You have a PHD, in fact several of them, in your cupboard, but they have nothing to do with education, and everything to do with Projects Half Done
Happy Holidays
I'm back to the world of blogging, having been in Norway for a week - spending time with more family that I even knew I had (I met a third cousin once removed - how's that!!!) and the girls got to hang out with their second cousins (who are much closer in age to them than their first cousins)

The Cousin Quilt (aka Norwegian Red) was well received

and put to immediate good use

I was without Internet most of the time, so am days behind in reading and replying to emails, but I will get there.
And I leave you with these images of the place where I spent a good part of each day - my favourite place in the world!


(Tara. Marielle, Tuva, Niki, Kinna, Lisa)
The Cousin Quilt (aka Norwegian Red) was well received

and put to immediate good use

I was without Internet most of the time, so am days behind in reading and replying to emails, but I will get there.
And I leave you with these images of the place where I spent a good part of each day - my favourite place in the world!


Sewing . . . and shopping
I managed to get a fair amount of hand sewing done while we were in Norway, so this hexie project is now pieced and ready to be basted and quilted. I think I will probably trim the tip of the top and bottom hexies, and I don't fancy binding something as wiggly as this!

I didn't buy much fabric as prices in Norway are generally really high, but there were a few pieces that were either good value, or essential! As one of the nieces came and picked ,e up and took me to the fabric shop it would have been rude not to have shown my appreciation by buying something1

And some more somethings

And just a few more
 And then these too

In the touristy shops I picked up a few Christmas decorations

And in the supermarket - a few (!) bars of chocolate - and yes mum, I got you some cheese!


I didn't buy much fabric as prices in Norway are generally really high, but there were a few pieces that were either good value, or essential! As one of the nieces came and picked ,e up and took me to the fabric shop it would have been rude not to have shown my appreciation by buying something1

And some more somethings

And just a few more


In the touristy shops I picked up a few Christmas decorations

And in the supermarket - a few (!) bars of chocolate - and yes mum, I got you some cheese!


