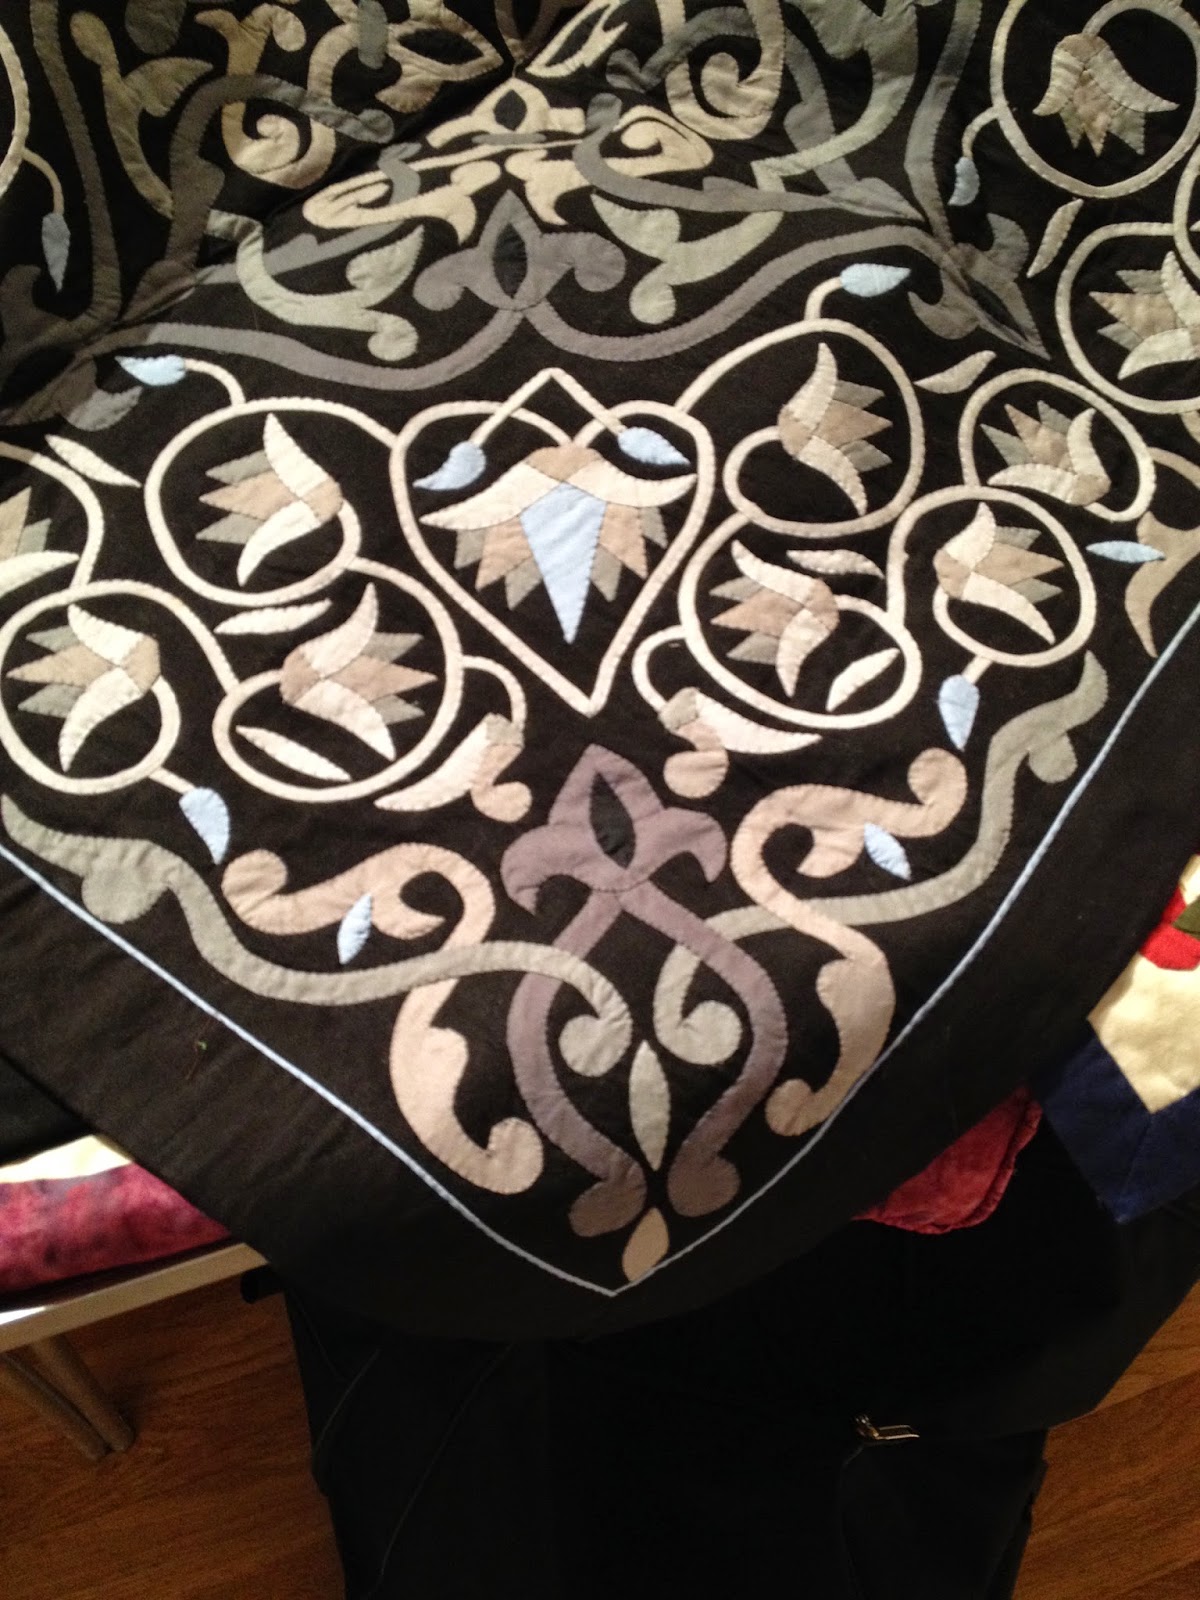
Blues Forever
Blues Forever is not a football chant, its a description of how long I seem to have been ironing, cutting, stitching and pressing recently - even the dust is blue!
From the delivery and the pile of strips I blogged about here, I have enough strips to make two tops like this,

And a third one, slightly smaller, like this from the scraps!

Not too shabby eh?
PS, if you want some of the shirt fabric, text Lorraine on 07977 588 583
From the delivery and the pile of strips I blogged about here, I have enough strips to make two tops like this,
And a third one, slightly smaller, like this from the scraps!
Not too shabby eh?
PS, if you want some of the shirt fabric, text Lorraine on 07977 588 583
Simple Skewering
Sorry if you came here expecting something fabric related, but I had a bit of fun with an aluminium tray left after supper a few nights ago, and thought I'd share it here.
The meat came in a fairly sturdy aluminium tray, and I trimmed away the sides, leaving the flat base, and then poked a pattern of holes in it with a skewer

I curled it just enough to fit into a jam jar

And then put a candle inside

Sometimes simple is sufficient to make me happy
The meat came in a fairly sturdy aluminium tray, and I trimmed away the sides, leaving the flat base, and then poked a pattern of holes in it with a skewer
I curled it just enough to fit into a jam jar
And then put a candle inside
Sometimes simple is sufficient to make me happy
R2D2 Too?
I was being pathetic yesterday I know, but I really don't have the attention to detail skill that is needed for paper piecing (PP), however fantastic the design, and the designer.
I printed out the instructions and the PP sheets

I cut out most of the tiny pieces, having decided that fabric pen was going to replace some of the pieces

I sighed, shock my head sadly, threw them all away and cut out the second (spare) set of pieces (still using Kristy's design) and re-evaluated.

I have long thought that a PP design could easily be done as an EPP (English paper piecing) -well the word *easily* has to be removed from the sentence, but I think it is doable. So I re cut the sections to suit EPP,

. . . tacked the fabric to the card (and used the fabric pens for the cheating parts)

. . . and started to whip the pieces together - it's now looking like this

I think it's going to work
I printed out the instructions and the PP sheets
I cut out most of the tiny pieces, having decided that fabric pen was going to replace some of the pieces
I sighed, shock my head sadly, threw them all away and cut out the second (spare) set of pieces (still using Kristy's design) and re-evaluated.
I have long thought that a PP design could easily be done as an EPP (English paper piecing) -well the word *easily* has to be removed from the sentence, but I think it is doable. So I re cut the sections to suit EPP,
. . . tacked the fabric to the card (and used the fabric pens for the cheating parts)
. . . and started to whip the pieces together - it's now looking like this
I think it's going to work
Wot? No Thread?
What are the odds of both bobbin and spool running out at the same time?

Binding Backlog
I find that during the summer months I start and piece quilts, but rarely finish them as its too hot to do the hand-sewing-the binding thing which involves the quilt being on my lap, keeping me warm.


As a result of patchwork activity in the summer I have a whole load of almost-finished quilts which are now being given the attention they deserve: first up, two iSpy quilts, one named and ready for delivery, the other ready for when it's needed
I've also made a bucket bag, just because I wanted to!
Not enough fabric for a full width pocket, so I put in a small seam pocket at least for receipts or carpark tickets
Christmas Conclusion
EDIT: This should have been posted ten days ago - no idea why it didn't!
Thanks for the suggestions as to how I could add prairie points to my aqua Christmas points, I think I have found the way to do it.
The points are pinned in place and the binding added to hold them down. I used 4 pieces of binding, one for each side, but rather than overlap them at all, each one finishes on a 45o fold at the edge of the fabric

Trim away as much as you dare from the corner

Flip the whole of the binding, plus the seam allowance, over to the back, and pin, ready to slip stitch. I reckon when I've stitched the mitres to each other and the binding to the back it'll be sorted!

I has just two squares left, and a few triangles, so under my "use it all up" policy they needed to be used, so I adapted Svetlana's draw string bag by adding another fabric to the bag parts, and the triangles between

Thanks for the suggestions as to how I could add prairie points to my aqua Christmas points, I think I have found the way to do it.
The points are pinned in place and the binding added to hold them down. I used 4 pieces of binding, one for each side, but rather than overlap them at all, each one finishes on a 45o fold at the edge of the fabric
Trim away as much as you dare from the corner
Flip the whole of the binding, plus the seam allowance, over to the back, and pin, ready to slip stitch. I reckon when I've stitched the mitres to each other and the binding to the back it'll be sorted!
I has just two squares left, and a few triangles, so under my "use it all up" policy they needed to be used, so I adapted Svetlana's draw string bag by adding another fabric to the bag parts, and the triangles between
R2D2 Done
My little R2D2 has now been finished, phew
From the back he doesn't look too great,

But I love him from the front
 As well as hand sewing, I have been machine embroidering a batch of these for a friend of Lisa's: 5 done, 5 to go

I love the design!

Now back to binding!
From the back he doesn't look too great,
But I love him from the front
I love the design!
Now back to binding!
Finished for the Festival
I expect every quilter in the world knows about Amy's Bloggers' Quilt Festival by now, but if you haven't visited, make yourself a big cuppa and start looking at the entries for this festival - my gosh there are some fab quilts to be seen!
I usually find a new blogger to follow too - and have found some great ones in the past! Thanks Amy for all the work you put into this
My first humble offering this year is my Irish Chain.
It was inspired by a quilt made by my non-blogging but awesome quilting bestie, Jackie, I wimped out of copying hers as it had too many HSTs, but I went with the sort of colours she is drawn to. She's Irish, and this design is an Irish Chain and the fabric is Moda's Essential Dots - so it has the imaginative name "Essential Irish".

The Moda fabric is really soft, so I decided to back it with an incredibly soft fleece blanket (technically it is a coverlet not a quilt as it's two layers rather than 3)
(Edit: I'm really pleased with the result. I love Irish chains, but not too keen on the ones with single blocks mixed with nine patches. This way was a lot more work, but worth it! The construction is a variation on the quilt as you go method, but a *really* quick version! I taught myself to quilt (made it up as I went along) before the days of blogging, so I didn't know about the rules - just figured out a quick and cheap method!!)
The back story can be read in various posts:

I usually find a new blogger to follow too - and have found some great ones in the past! Thanks Amy for all the work you put into this
My first humble offering this year is my Irish Chain.
It was inspired by a quilt made by my non-blogging but awesome quilting bestie, Jackie, I wimped out of copying hers as it had too many HSTs, but I went with the sort of colours she is drawn to. She's Irish, and this design is an Irish Chain and the fabric is Moda's Essential Dots - so it has the imaginative name "Essential Irish".
The Moda fabric is really soft, so I decided to back it with an incredibly soft fleece blanket (technically it is a coverlet not a quilt as it's two layers rather than 3)
(Edit: I'm really pleased with the result. I love Irish chains, but not too keen on the ones with single blocks mixed with nine patches. This way was a lot more work, but worth it! The construction is a variation on the quilt as you go method, but a *really* quick version! I taught myself to quilt (made it up as I went along) before the days of blogging, so I didn't know about the rules - just figured out a quick and cheap method!!)
The back story can be read in various posts:
- Cutting the fabric and starting the 9 patch blocks here last November
- More blocks and initial layout here in January 2014
- Final layout here in February
- How to quick piece/assemble/initially quilt a coverlet here in May
- Extra quilting here in June
- Making it into a Quillow and machining the binding here in July 2014
- And finally this week the binding has been hand stitched to the back (you can see I don't like to rush these things)

Final Festival Entry
I posted a new finish for my large quilt entry to Amy's Bloggers Quilt Festival, but my second entry is a bit older.
Last year husband and I celebrated our 25th wedding anniversary with a once in a lifetime trip to see the northern lights

They were, needless to say, amazing! I made this wall hanging as a reminder of the trip. The fabrics are an assortment of Kona solids in a design that is related to Bargello, but a fairly distant relation!

To get the people (husband and I?) I designed them both for machine embroidery using PEDesign. they are both stitched black on black, but the stitches are slanted in opposite directions so they catch the light differently.
.JPG)
I'm entering this as an Art Quilt
Last year husband and I celebrated our 25th wedding anniversary with a once in a lifetime trip to see the northern lights
They were, needless to say, amazing! I made this wall hanging as a reminder of the trip. The fabrics are an assortment of Kona solids in a design that is related to Bargello, but a fairly distant relation!
To get the people (husband and I?) I designed them both for machine embroidery using PEDesign. they are both stitched black on black, but the stitches are slanted in opposite directions so they catch the light differently.
I'm entering this as an Art Quilt
Further Finishes
Following a load of "nearly finishes" in the summer, I can now start to show some "actual finishes" - all it took was a couple of hours to hand sew the binding onto this

And a few more hours to finish this:

Two finishes - so I can start some new ones right?

And a few more hours to finish this:

Two finishes - so I can start some new ones right?
New to Me
Fiona, at Celtic Thistle runs a 'New to Me' linky each month.

I don't often have anything to contribute, but this week I've had a go at lacemaking!
It was originally offered as a children's holiday class at Chertsey museum: only three kids signed up, but several adults (including me) said they were interested, so we were allowed to join the kids!
It was very basic lace making, and using different types of threads for the passive threads (warp) and embroidery threads for the weaver (the weft), but we used the pins and the bobbins - all proper stuff!
Its a bit like weaving - in fact the initial result was weaving, but we then started adding twists which you couldn't easily do with weaving

The design was a sort of zigzag, but I do feel it looks more wonky than zigzagged, but her samples were pretty much the same! Id like to try again, but I think I'd go for something straighter

I then came home in the mood to progress something that had stalled, so I dug out the red linen quilt which was last worked on about six weeks ago. I trimmed all the blocks to the right size

And joined them in strips

I don't often have anything to contribute, but this week I've had a go at lacemaking!
It was originally offered as a children's holiday class at Chertsey museum: only three kids signed up, but several adults (including me) said they were interested, so we were allowed to join the kids!
It was very basic lace making, and using different types of threads for the passive threads (warp) and embroidery threads for the weaver (the weft), but we used the pins and the bobbins - all proper stuff!
Its a bit like weaving - in fact the initial result was weaving, but we then started adding twists which you couldn't easily do with weaving
The design was a sort of zigzag, but I do feel it looks more wonky than zigzagged, but her samples were pretty much the same! Id like to try again, but I think I'd go for something straighter
I then came home in the mood to progress something that had stalled, so I dug out the red linen quilt which was last worked on about six weeks ago. I trimmed all the blocks to the right size
And joined them in strips
Secret Sewing and Selfish Sewing
The secret sewing? Well I can show you this much for now, the rest will be revealed ... later

And I did some selfish sewing - for me: I treated myself to a pincushion and cotton reel holder:
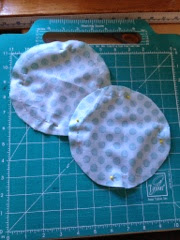
Cut 5 circles, stitch two in pairs, right sides together, repeat

Snip in centre, turn right way out, press into circle shapes

Stitch running stitch 1/4 inch from edge of 5th circle

Stack the two turned circles on top on each other, stitch across centre 3 or 4 times (ie 60 or 45 degree lines) but start and stop 3/4" from the edge. Stitch at edge- where the lines would have stopped




Pull thread tight on 5th circle, stuffing as you tighten. Use ribbon or cord to thread through gaps created and through cotton reels or bobbins, tug to create bowl shape.

tuck stuffed circle into the bowl shape created, tie ribbons.
Ta da!

Secret Revealed
A few days ago I showed a tiny section of a sewing secret
- now I can show you the rest!
Following on from teaching craft / mug caddies at a class, I realised that this idea wasn't limited to mug size.
I made one from a big coffee canister

and then made an even bigger one from a tall biscuit tin - perfect for knitting needles and ball or two of wool, I hope!

By the time this post is published (I've scheduled it), Jackie will have received it - and hopefully liked it!
I also made her a pincushion & thread thingy:

Both of the pincushions were based on this one I saw at my friend Heather's house

Following on from teaching craft / mug caddies at a class, I realised that this idea wasn't limited to mug size.
I made one from a big coffee canister
and then made an even bigger one from a tall biscuit tin - perfect for knitting needles and ball or two of wool, I hope!
By the time this post is published (I've scheduled it), Jackie will have received it - and hopefully liked it!
I also made her a pincushion & thread thingy:
Both of the pincushions were based on this one I saw at my friend Heather's house
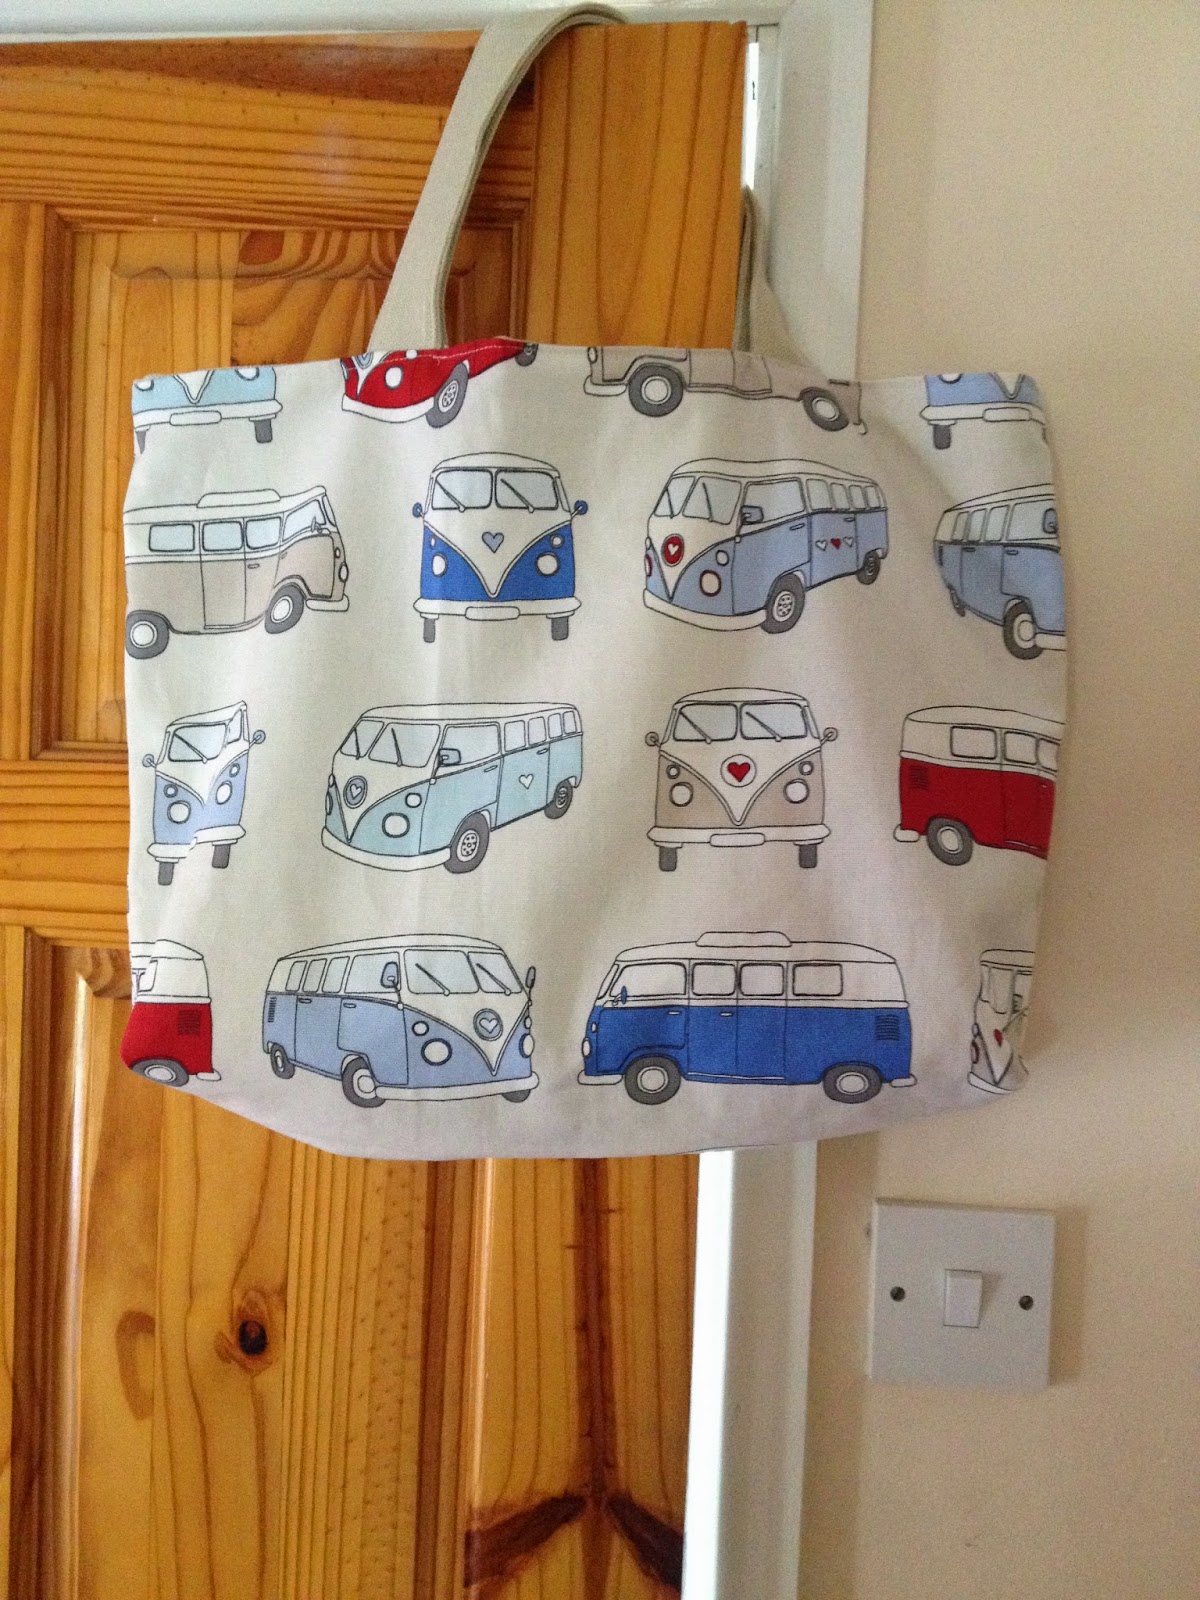
Beetle's (Big Brother) Bag
I know, I know, its not a beetle, but I always thought of them as the beetle's big brother, even though we called then dakdaks (from the noise of the engine)
And now it's a bag for a customer! Hope you like it Lynne
And now it's a bag for a customer! Hope you like it Lynne